Tuesday, December 22, 2009

WHOOO doesn't love an Owl (Hat)?


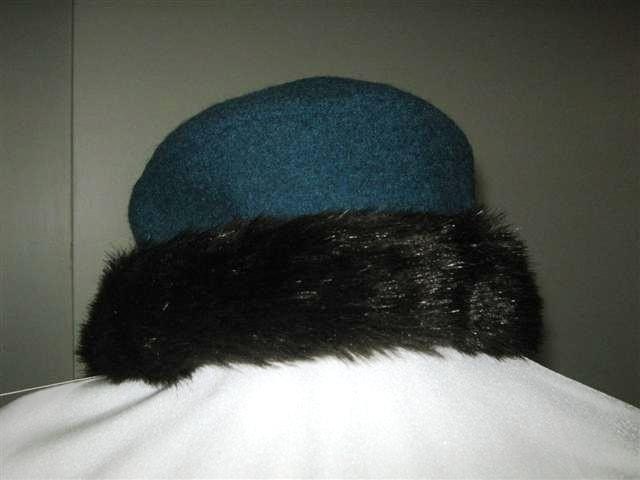
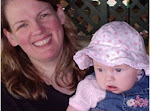
I have been making these felted wool knit hats for a local boutique. Here is Maisie modelling one of them for me.
I purchased the knit at a great price and felted (or fulled) it in the washer/dryer.
The applique is in a wool felt and they are lined in polartec. The ears, braids and tassels are in a doubly fulled batch of the knit. Less stretch to it, but less chance of it pulling apart.

Friday, December 18, 2009

Teal Jacket, post 2

I am not liking this.
I have it all stitched and seams pressed. I was looking large in this so I put the side darts in. Still looked large, so I have made the darts even larger. Still not in love with it.
I am going to go the collar or edge trim and go back to the fitting. I don't want to overfit it. I have the sleeves cut and stitched, but not pressed. If I need to take it in any more I might need to change them so they have to wait as well.
The collar pieces are separate from the main body, unlike most shawl collars and they enormous! I will not be cutting them from the correct fabric yet. I want to muslin this separately to see what I will do.

On a more pleasant note: Maisie made me laugh today. She found a piece of black fur in the studio, picked it up and started calling "Blackie? Blackie?" as if it would answer her. Blackie is one of the cat's names. As much as I pretend not to like the cats I would never turn them into fabric!

Wednesday, December 16, 2009

Another teal jacket

I am working on a version of this jacket-Vogue 1147. I started it mainly because I needed some of the leftover fabric to make a custom ordered hat, like this one, but smaller.
The teal is a boiled wool/rayon blend. I want it to be like a sweater, so I am not sure if I will line it. I may not even add the collar on this one. If possible I would like to develop this into a TNT pattern and make several different versions of it.
In order to cut it out, I first needed to make a muslin. The measurements of the finished garment on the pattern envelope looked close, so I cut out a size F in a wool that I found too scratchy to use. The only alteration was that I shortened the length above the waist by an inch. It fit around at first, but wasn't flattering. I really looked like I had a barrel body.
The back is cut for a lot of curve to it. As a pear shape, I don't have as much bulk above the waist as below and not as much curve to my back apparently.
I pinned out the amount I thought it needed removed from the back and tried it on again. There still seemed to be a lot of excess under my arms and through the waist. As a plus size I am always glad to have something go around, but this as just too big through the waist. The bust was good, although not defined. The back did not dip into my sway. Both aspects are fine. I want a looser style, but still shaped somewhat to my curves. The pattern has a one piece side front and side back and I thought I would like the A-line shape in there. I played with all fitting seams, then finally added a dart where the side seam would be. It extends from just below the armhole, getting deeper toward the waist, then tapering out to the hemline again. This forms a more fitted sillhouette, but is not tight in any way.
At this point I have the teal cut out and the dart marked. I am going to leave it unsewn until the rest is together and have a look at what is needed in the actual fabric. It might be fine without it since every fabric acts differently.

Tuesday, December 15, 2009

Trying to show comparison


I took these before I finished the last few. All are embroidered and now I need to decide if I will be adding any more at top or bottom. I might just add a trim to the bottom edge and get it done.
Hmmm, there is that attitude coming through again!

Sunday, December 13, 2009

Christmas Tree Skirt

I designed this tree skirt last summer and put it aside since I had so many other things to work on. Then, of course, I was in a rush and just wanted to get it done when I finally had time to work on it. However, I have learned my lesson in this area before. I did my basic satin stitching around the applique design of holly and ribbon, then let it ferment for a while while I thought about it.
Here is the basic stitching. The "ribbon" is in a deep red velvet, although it looks much darker in the photos
Two sections out of six showing how they will line up.

This is what I added after waiting a while. On the right there is a lime-ish green added to the top edges of the holly and the brown stem joining the brances. I am not sure if the pictures capture it, but it makes a big difference in real life.
This is the basic layout with all six sections. You can see that I haven't completed all the secondary stitching on all sections yet.
I will be adding rhinestones in red to form the berries. I just hope it gets done in time for Christmas.